How to Invoice a Brand and Actually Get Paid (With the Liinks Invoice Generator)

The deal was easy. A brand slid into your inbox, you agreed a fee, you shot the thing, you posted it on the day they asked. That part you know how to do.
Then comes the part nobody covers: the money. You send a message saying the content is live, and the reply says "great, can you send us an invoice?" Suddenly you are staring at a blank document, wondering what a PO number is, whether you need to charge tax, and what happens if you get it wrong. So you put it off for a week. Then the accounts payable cycle closes, and your payment slides into next month.
Getting hired and getting paid are two different skills, and the second one is mostly logistics: the invoice that goes out the same day gets paid weeks before the one that goes out "when I get a chance." Brands do not pay creators. Their finance systems pay documents. Your job is to hand them a document their system can process without a single follow-up question.
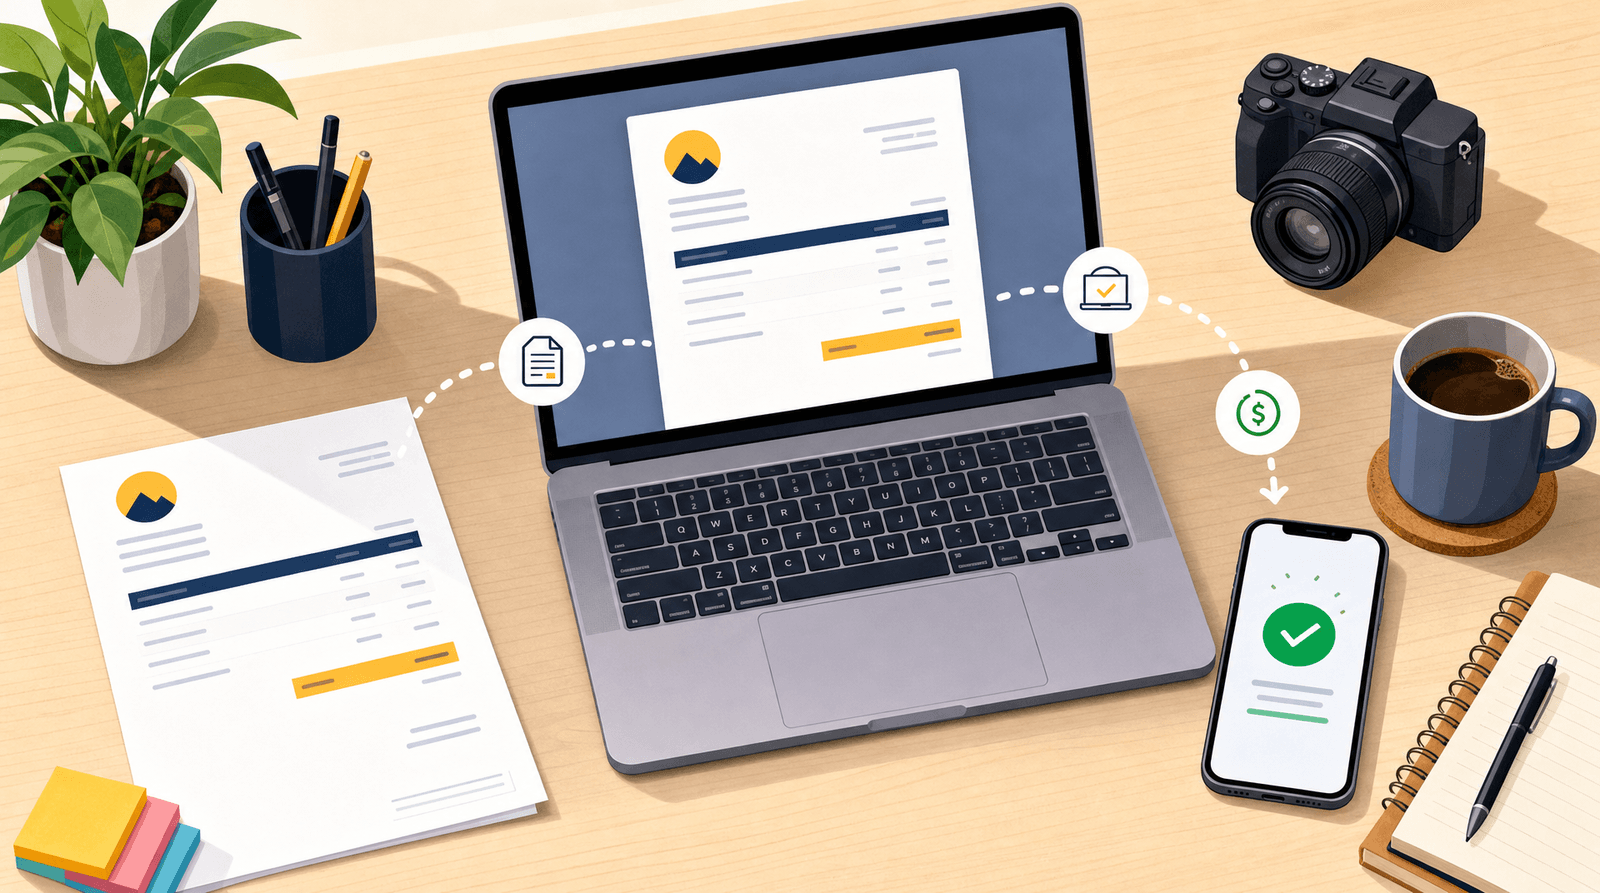
The free Liinks Invoice Generator does that part for you. Fill in who you are, who you are billing, and what you delivered, and it produces a clean PDF invoice in your browser. No account, no watermark, no monthly bookkeeping subscription, and nothing you type gets uploaded anywhere.
Why creator invoicing is its own thing
Generic invoice templates are built for plumbers and consultants: hours, a rate, a total. Brand deal work does not price that way, and using a template that assumes it is how creators end up under-billing.
Three differences matter.
You sell deliverables, not hours. Nobody is paying you for the six hours you spent on a Reel. They are paying for the Reel. Your line items should read like the deal you agreed: one Reel, three Story frames, one TikTok, a set of photos. That is the vocabulary in the brief, so that is the vocabulary on the invoice.
Usage rights are a separate product. This is the most commonly missed line on a creator invoice. Posting a Reel on your own account is one thing. Letting the brand run it as a paid ad for three months, or put it on their website, or whitelist it through your handle, is a different thing with a different price. If it is not itemized, brands will assume it was included, and you will find out when you see your face in a paid ad six months later.
Payment terms are set by their system, not yours. Most brands run net 30 by default, some net 60, and the clock starts when the invoice hits accounts payable, not when you posted the content. A week of procrastination is a week added to the end of it.
If you are still at the stage of quoting rates rather than billing them, Nobody Is Going to DM You for Prices covers the earlier half of this conversation. This post picks up after the yes.
Meet the Liinks Invoice Generator
The Invoice Generator is one of the free tools Liinks builds for creators and small businesses. Open the page and it is already filled in with a sample invoice, so you can see the shape of the finished thing before you type anything.
A few things worth knowing before you start:
- Nothing leaves your device. The PDF is built in your browser, so your client's address, your rates, and your payment details are never uploaded to a server. That matters for a document holding both your income and someone else's contact details.
- The PDF is vector, not a screenshot. Text stays selectable, the file lands at a few kilobytes, and accounts payable can copy your bank details straight out of it.
- It handles twelve currencies, including USD, EUR, GBP, CAD, AUD, and JPY.
- There is no sign-up. You do not need a Liinks account to use it.
The walkthrough, step by step
1. Set the invoice number and currency
Start at the top left. The invoice number is the reference the brand's finance team will use for every message about this payment, so it needs to exist and it needs to be unique.
INV-0001 is the default and it is fine. What matters is that you keep counting, so you can say "invoice 14 is still outstanding" instead of "the one from that coffee thing in June." A per-brand prefix helps too: NBC-001 for Northbound Coffee, ACM-001 for Acme.
Pick your currency next. It changes every symbol in the preview, and the total line reads "Total (USD)" so nobody has to guess.
2. Set the dates and the payment terms
Issue date defaults to today. Leave it there. Backdating an invoice does not start the clock earlier, it just makes you look disorganized when it arrives three weeks after its own date.
For the due date, use the preset chips under the field: On receipt, Net 7, Net 14, or Net 30. Each sets the date for you, and a blank due date renders as "On receipt" on the invoice.
Use whatever the contract says. If the deal never mentioned terms, Net 14 is reasonable for a small brand, and larger companies will pay to their own Net 30 regardless of what you write. Putting Net 7 on an invoice to a company with monthly payment runs will not speed them up, but it does give you a documented date to reference when you chase.
3. Fill in From and Bill to
From is you: your name or business name, your email, and a details box for your address, your page URL, and your tax ID or company number if you have one. In most countries an invoice needs a real address on it to count as a valid business document, so put one there.
The page URL line is quietly useful. yourname.liinks.co under your name means anyone in the approval chain who has never heard of you can see who you are in one click.
Bill to is where invoices usually go wrong. Do not address it to the marketing manager you have been emailing. Ask them who invoices should be made out to, and get two things: the company's legal name and the accounts payable email address. If they gave you a PO number, put it in the details box. An invoice with a PO number on it goes into the payment run. An invoice without one goes into somebody's inbox to be forwarded eventually.
4. Add your line items
This is the part built specifically for creator work.
Under Line items you get description, quantity, and rate, and the amounts calculate as you type. Under the rows is a Quick add row of chips for the deliverables that actually show up in brand deals: Instagram Reel, Instagram Story (3 frames), TikTok video, YouTube integration, UGC video (no posting), Photo set, Usage rights (3 months), Whitelisting / paid amplification, Exclusivity, and Consulting hour. Click one and it drops in as a line item ready for a rate.
Four rules for the lines themselves:
- Itemize everything you agreed, even the free parts. Threw in an extra Story frame as a goodwill gesture? List it at a rate of 0. It shows the brand what the deal included, and makes it harder for the next campaign to assume the same extras at the same price.
- Price usage rights as their own line. Duration and channel both belong in the description: "Usage rights (3 months, paid social)" tells everyone what expires and when. Vague rights language is how a one-month campaign becomes a permanent asset.
- Match the wording in the brief. Finance teams check invoices against briefs. A mismatch means a query, and a query means another week.
- Use quantity for repeats, not for hours. Three TikToks at 800 each is one line with quantity 3, not three lines.
If you are unsure what any of these should cost, work out your engagement rate first: it is the number brands benchmark rates against, and the free engagement rate calculator does the maths in seconds.
5. Add tax if you need to
There is a tax label field and a tax rate field. Rename the label to VAT, GST, or Sales tax as appropriate, enter the percentage, and it is applied to the subtotal and shown as its own line.
If you are not registered for any of it, leave the rate blank and no tax line appears. Do not invent a tax line because it looks more official. Charging tax you are not registered to collect is a real problem, not a cosmetic one.
6. Write the notes and payment details
The notes box is the most important free-text field on the page, because this is where the money actually moves. Include:
- Exactly one way to pay you. Bank transfer details, or a PayPal address, or a payment link. Giving three options feels helpful and reliably causes a delay while somebody decides.
- The account name that matches your invoice. If the invoice says your business name and the bank account is in your personal name, flag it here. Mismatches get bounced by finance systems.
- A late fee line, if you use one. "Late payments accrue 2% per month" is standard, quietly effective, and worth including even if you never enforce it.
7. Add your logo
Drag an image onto the logo box, or click to upload, and it sits at the top of the PDF. Like everything else on the page, it is processed in your browser and never uploaded.
Worth doing. An invoice with a logo reads as a business sending a document. Without one it reads as a person asking for money, and the two get treated differently by people who process a hundred of these a week.
8. Download the PDF, or copy it as text
Download PDF saves the invoice as invoice-inv-0001.pdf, named from your invoice number so the file arrives in their inbox already labelled. Long item lists paginate automatically, and the totals block stays on the same page as the rows it sums.
Copy as text gives you the whole invoice as plain text, which is what you paste into the body of the email you send it with. Attachments get missed. An email whose body already shows the total, the due date, and the payment details gets acted on.
Sample reloads the demo invoice, and Clear empties everything so you can start from scratch. Note that the form does not save between visits, which is the flip side of nothing being stored: keep your own copies of the PDFs you send.
Sending it so it gets paid
The document is half the job. The other half is the three minutes after you download it.
Send it the day the work goes live. Not the end of the month, not when you feel like doing admin. Every day you wait is a day added to their payment terms, and the reason your fee lands in October instead of September is almost never the brand.
Send it to accounts payable, and copy your contact. Your contact is not the one who pays you, they are the one who approves it. Both need it, and only one of them will chase it internally.
Put the details in the email body. Invoice number, total, due date, one line on what it covers. Approvers often never open the attachment.
Diarise the follow-up before you close the tab. Chase on the due date, not a fortnight after it, and keep it short: "Hi, invoice INV-0001 for 2,250 was due yesterday. Could you confirm it is scheduled? Details re-attached." No apology, no hedging. You are not asking for a favour, you are asking about a document.
Keep a list. Invoice number, brand, amount, sent, due, paid. A note on your phone is enough. The point is not bookkeeping, it is knowing which ones are late without reconstructing it from your sent folder.
Where the invoice sits in the rest of your setup
An invoice is the last step of a chain that starts when a brand first hears your name, and the whole chain works better when the pieces point at each other.
The media kit generator handles the pitch: audience, platforms, and rates on one page you can attach to any email. The engagement rate calculator gives you the number that justifies those rates. The Invoice Generator closes it out. Same tool set, same free, no-sign-up terms.
Sitting under all of it is your Liinks page: the one URL you put in your bio, your pitch email, your invoice, and your email signature. Two blocks are worth setting up specifically for the money side:
- A "work with me" block near the top, pointing at your contact form or booking link, so an inbound deal never depends on someone finding your email.
- A payment or tip block, if you take direct payments. The Liinks admin links the Invoice Generator right from the socials block when you add a payment platform, which is where your "how I get paid" links already live.
Then check the analytics to see which of those blocks brands actually click. The same argument as Going Viral Is the Easy Part. Being Ready Is the Hard Part. applies to deals as much as to spikes: the opportunity arrives on someone else's schedule, and the only part you control is whether you are set up before it does.
TL;DR
- Getting paid is a separate skill from getting hired, and most of it is sending a clear invoice fast. Terms start when the invoice arrives, not when the content went live.
- The free Liinks Invoice Generator builds a vector PDF invoice in your browser: no sign-up, no watermark, nothing uploaded.
- Line items should read like the brief. The quick-add chips cover the usual creator deliverables.
- Itemize usage rights, whitelisting, and exclusivity separately. If they are not on the invoice, the brand will assume they were free.
- Address the invoice to the company's legal name and the accounts payable email, and include the PO number if you were given one.
- Put exactly one payment method in the notes, plus a late fee line if you use one.
- Send it the day the work goes live, paste the invoice text into the email body, and chase on the due date rather than weeks after.
Try it
The Invoice Generator is free, needs no account, and runs entirely in your browser. Open it, click Sample to see a finished invoice, then clear it and bill the deal you have been putting off.
Then give brands somewhere to find you. A Liinks page puts your work, your rates, your contact form, and your payment links on one link you can send with any pitch, with analytics that show you what they clicked. Build yours in a few minutes at liinks.co.