How to Switch Link-in-Bio Tools Without Losing Your Traffic


You already know your link-in-bio page needs to move. That's not the hard part.
The hard part is that your current URL has been sitting in your Instagram bio for two years. It's in your email signature. It's printed on a QR code on a poster in a coffee shop. Someone put it in a podcast description in 2024 and neither of you remembers which episode. Every time you think about switching tools, you picture all of those places at once and decide to deal with it later.
So you stay. You keep a page you don't like, on a tool you've outgrown, because moving feels like it costs more than staying. That math is almost always wrong, and the reason it feels right is that nobody writes down what migrating actually involves. It's a couple of hours of unglamorous work, most of which is a checklist. This guide is that checklist.
What you're actually risking (and what you're not)
Before the steps, it helps to be precise about the risk, because the vague version is scarier than the real one.
What you are not risking: your followers, your social accounts, your SEO on any of your real destinations, or your ability to change your mind. Nothing about switching link-in-bio tools touches the platforms your audience actually lives on. Your Instagram account is not affected by which page your bio link points to. Your website's search rankings are not affected either, because a link-in-bio page is a router, not a destination.
What you are risking: two specific things, and both are manageable.
The first is link rot. Any place where your old URL is hardcoded and hard to edit becomes a dead end the moment you delete the old page. Printed material is the obvious case. Third-party directories, old newsletter archives, and other people's blog posts are the ones people forget.
The second is your click history. Whatever analytics you've built up on the old tool usually don't come with you. You lose the baseline, which means for the first few weeks you can't tell whether a dip is the new page or just a slow week.
Both problems have the same solution: do a little work before you flip the switch instead of after. That's what the next section is.
Step 1: Take a 20-minute inventory before you touch anything
Do not start by building the new page. Start by writing down what you have. This is the step people skip and the reason migrations go badly.
Open a blank note and capture four things.
Your current links, in order
List every link on your existing page, top to bottom, exactly as it appears. Next to each one, write what it's actually for: sell something, grow the email list, send people to a platform, or just be there because it always has been. You will find at least two links in the last category. That's useful information for the next step.
Your click numbers
Screenshot your analytics before you leave. Total clicks over the last 30 and 90 days, plus per-link click counts if your current tool shows them. This takes two minutes and it's the only chance you get. Once you cancel, that data is gone, and without it you have no baseline to compare your new page against. If you want a shortlist of which numbers are worth keeping, we've written about the handful of metrics that actually matter and which ones are noise.
Your assets
Your profile photo at full resolution, any header or background image, your brand colors as hex codes, and the exact font if you know it. Pull these off the old page or out of your files now, so you're not hunting for them mid-build.
Every place your URL lives
This is the big one, and it gets its own section below. For now, just start the list.
Step 2: Rebuild, don't copy
Here's the part that turns a chore into an upgrade: do not recreate your old page link for link.
You are about to rebuild a page from scratch with a full inventory of what's on it and what each item is for. You will never have a better moment to cut the dead weight. The average link-in-bio page accumulates links the way a junk drawer accumulates cables, and every extra link makes the ones that matter harder to find.
Go back to your inventory list and sort it into three piles:
- Keep and promote. The two or three links that do the real work. These go at the top, with clear labels that say what happens when someone taps them.
- Keep but demote. Useful, not urgent. Platform links, archives, secondary offers. These go below the fold or inside a folder or section.
- Cut. Anything you kept out of habit, anything pointing at a project you've moved on from, and anything you can't articulate a purpose for.
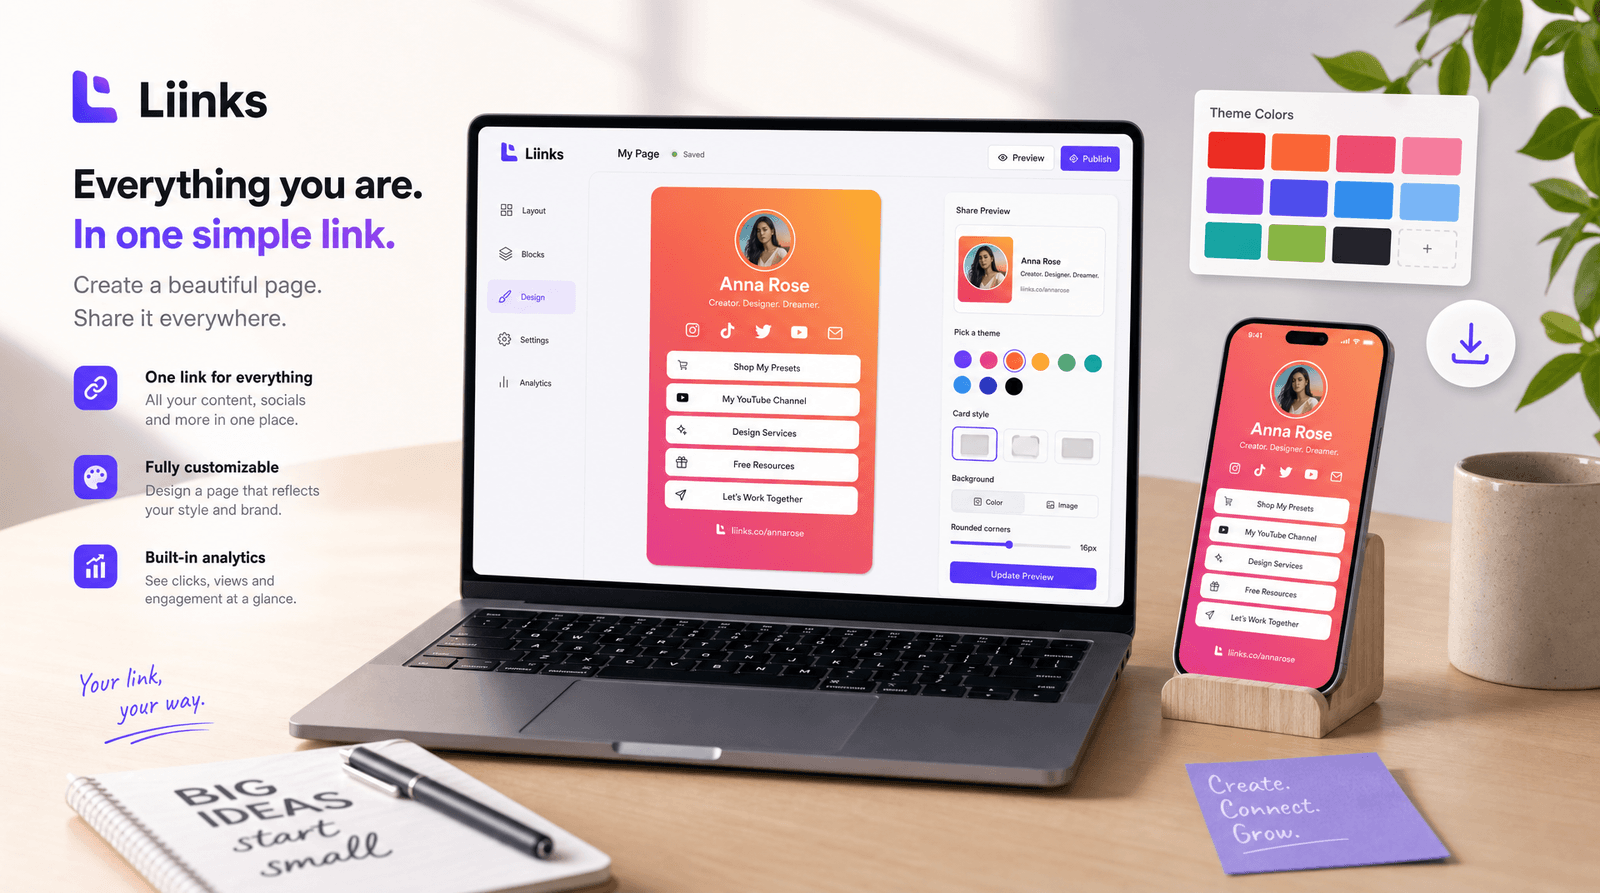
Then rebuild in your new tool with that order baked in. If you're moving to Liinks, you can start from a template and swap in your own colors and photos, which is faster than building from a blank page and usually looks better than what you had. Give yourself an hour. It's genuinely enough.
Two things to get right while you're in there, because they're much easier to set now than to fix later:
Pick your username carefully. This is the URL you'll be spreading everywhere in Step 4, and you don't want to do this twice. Shorter is better. Your handle on your biggest platform is usually the right answer, because it's the name people already associate with you and the one they're most likely to type correctly.
Set up your link preview. When someone shares your page in a DM or a group chat, the preview image and title are what they see before they decide whether to tap. Most people never touch this setting, which is why so many shared bio links show up as a blank card with a URL under it. Set a proper title, description, and image while you're building.
Step 3: Run both pages in parallel for a week
Do not delete the old page on day one. This is the single easiest way to make a migration safe, and it costs you one extra week of a subscription you're about to cancel anyway.
Instead, do this:
- Build and publish the new page.
- Go to the old page and change its links. Not all of them: replace the entire old page with one prominent link pointing at your new URL, or if your old tool supports a redirect, use that. Anyone who arrives via an old bookmark, an old QR code, or a stale directory listing lands on the old page and gets forwarded instead of hitting a dead end.
- Update your live profiles to the new URL (Step 4).
- Leave the old page up for at least a week, ideally a month if it's printed anywhere.
This turns the scariest part of switching into a non-event. There is no moment where your link is broken. There's just a window where two links both work, and then one of them quietly stops mattering.
If your old tool lets you export or keep the page as a redirect indefinitely at no cost, keep it. It's the cheapest insurance you'll ever buy against a QR code you forgot about.
Step 4: Update your link everywhere it lives
This is the actual work of the migration, and it's less about difficulty than about being thorough. Here is the list most people need. Work top to bottom and tick them off.
The obvious ones (do these first):
- Instagram bio
- TikTok bio
- YouTube channel links and About section
- X / Twitter bio and profile URL field
- LinkedIn contact info and featured section
- Pinterest profile
- Threads, Bluesky, and anywhere else you're active
- Facebook page
The ones people forget (do these second):
- Your email signature, including the one on your phone
- Your newsletter footer and welcome email
- Your podcast show notes template and podcast host profile
- Your website's contact or about page
- Your Google Business Profile, if you have one
- Any Discord, Slack, or community profile where you've listed a link
- Marketplace and platform profiles: Etsy, Substack, Patreon, Gumroad, Ko-fi
- Your Linktree-style link in any collab post caption you can still edit
- Directory listings and association memberships
- Your resume, media kit, and one-sheet
- Printed material: business cards, packaging inserts, event signage, stickers
If that last section made you realize how many places your URL has spread to, that's a good sign. It means the link is doing its job. We've written a longer piece on the unexpected places worth putting your link, and it doubles nicely as a migration checklist in reverse.
A tip that saves real time: search your own name plus your old URL in a search engine, and search your old URL alone. You'll surface directory listings, guest posts, interview write-ups, and forum profiles you'd forgotten about. Anything you can edit, edit. Anything you can't, that's exactly why you left the old page up as a redirect.
Regenerate your QR codes. Any QR code pointing at the old URL is now pointing at a redirect, which works but adds a hop. If you can reprint, reprint. If you're generating new codes anyway, point them at the new URL directly and make them match your new page while you're at it.
Step 5: Watch the first two weeks, then stop watching
Once the switch is done, resist the urge to check your numbers every hour. Give it two weeks, then compare against the baseline you screenshotted in Step 1.
Three things to look at:
Total clicks. Expect a small dip in week one. Some of your traffic was arriving through stale links that now take an extra hop, and some platforms take a day or two to update cached bio links. If total clicks are roughly flat by week two, the migration worked.
Click-through rate per link. This is where a rebuild usually pays off. If you cut half your links and promoted the important ones, the top links should be getting a noticeably bigger share of taps than they did before. That's not more traffic; that's the same traffic finally going somewhere useful.
Traffic sources. Check which platforms are actually sending people. If a platform you spent an afternoon updating sends almost nobody, that tells you something about where to focus. If one you forgot about is still sending traffic to the old page, go update it.
After two weeks, stop. Your page is not a stock ticker. Set a reminder to run a quick page audit once a quarter instead, and spend the attention you were about to spend refreshing analytics on making something people want to click.
TL;DR
- Inventory first, build second. Screenshot your analytics before you cancel anything, list every link and what it's for, and grab your assets. Twenty minutes here saves hours later.
- Rebuild rather than copy. A migration is the best excuse you'll get to cut dead links and reorder the page around what actually matters.
- Run both pages in parallel. Turn the old page into a redirect and leave it up for a week or a month. There is never a moment where your link is broken.
- Work the whole list. Bios first, then email signatures, show notes, marketplace profiles, directories, and print. Search your old URL to find the ones you forgot.
- Give it two weeks, then move on. Compare against your baseline, expect a small week-one dip, and check per-link click share to see whether the rebuild worked.
The cost of switching is one afternoon and a checklist. The cost of not switching is every visitor who lands on a page you don't like, for as long as you keep putting it off.
Ready to make the move?
Liinks is built for the page you'd rebuild anyway: customizable layouts, sections and folders so you can promote what matters without deleting what doesn't, proper link previews, and analytics that tell you which links are pulling their weight. You can build your whole page for free and only publish when it looks right.
Start building your page, point your bio at it, and keep the old one up for a week. That's the entire migration.