How to Resize One Image for Every Platform With the Free Liinks Social Media Image Resizer

You shot one great photo. Now you need it as a square for the grid, a tall vertical for stories, a wide rectangle for a YouTube thumbnail, and something in between for LinkedIn. Same picture, five different shapes, and every platform crops it a little differently than the last.
So you do the thing everyone does. You upload the full image, let the app crop it however it wants, and hope your face isn't cut off at the chin. Sometimes it works. Often it doesn't, and you find out only after the post is live and the important part of the photo is sitting just outside the frame.
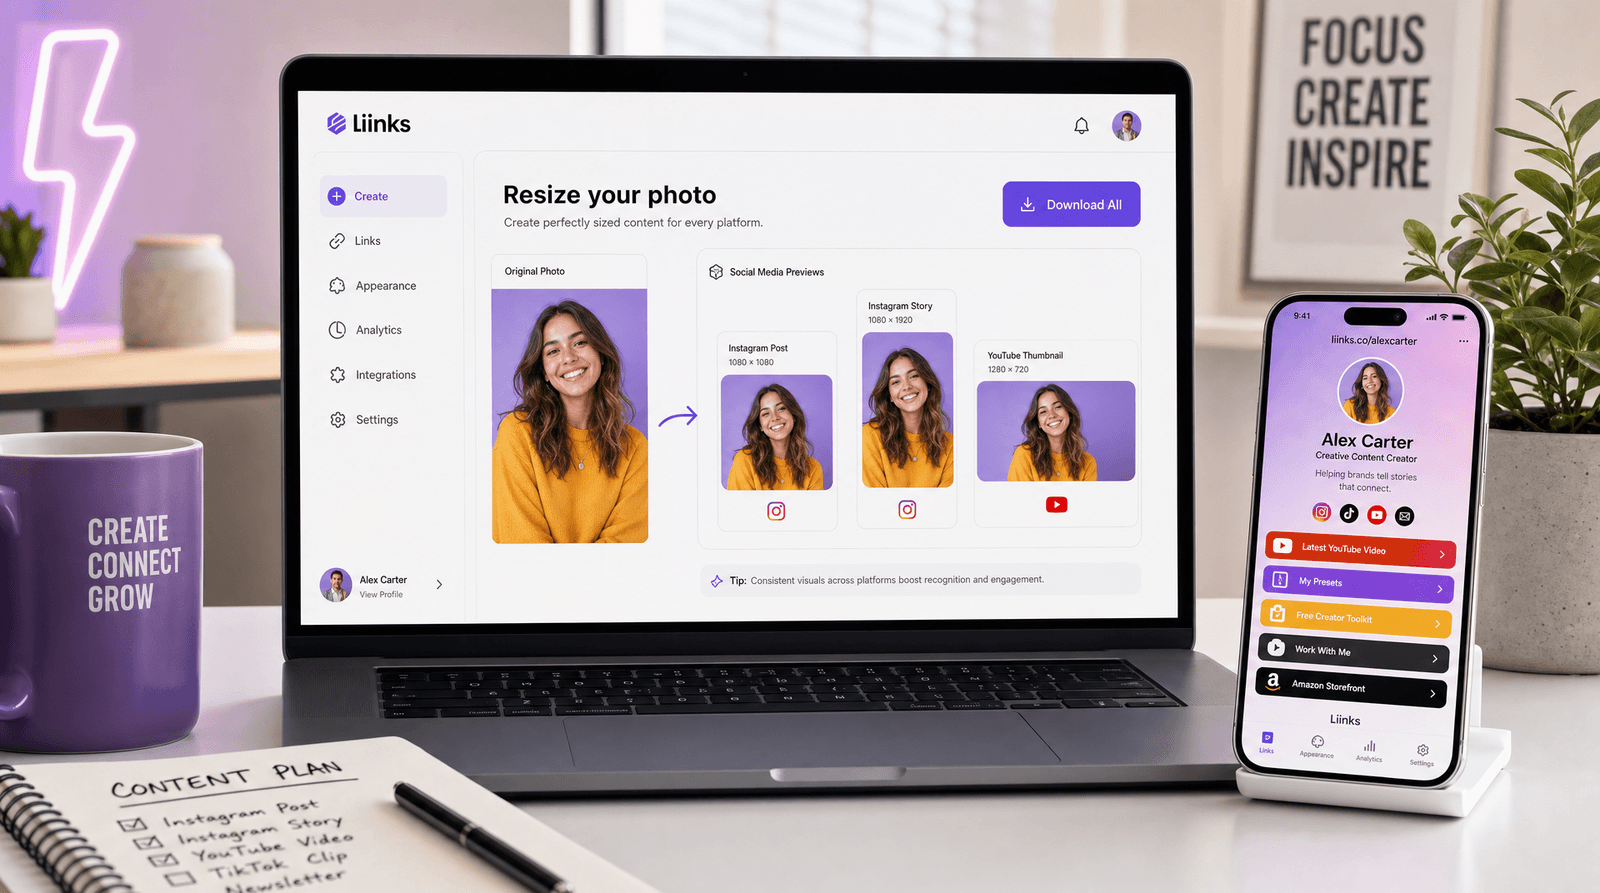
Getting the dimensions right used to mean opening a design tool, looking up the current recommended size for each placement, and exporting one file at a time. That's a lot of friction for something that should take seconds. The free Liinks Social Media Image Resizer collapses the whole chore into one screen: upload once, pick your platforms, download clean PNGs sized exactly right. No sign-up, no watermark, nothing to install.
Why image size is doing more work than you think
Every social platform has an ideal size for each spot, and when your image doesn't match it, one of two things happens. Either the platform crops it to fit, chopping off whatever sits at the edges, or it pads and compresses it, leaving your photo blurry or floating in a box.
Neither reads as "professional." A thumbnail that's cut off looks careless. A stretched banner looks like a mistake. And because the preview is the first thing people see before they decide to watch, read, or scroll past, that first impression is carrying real weight.
The tricky part is that the "right" size is different everywhere. An Instagram feed post wants a tall 1080x1350. A story wants 1080x1920. A YouTube thumbnail is a wide 1280x720. An X post image looks best at 1600x900. A Pinterest pin is a tall 1000x1500. Trying to remember all of that, or eyeballing crops until they look close, is how good photos end up looking sloppy across half your channels.
This is the same problem the free Liinks Character Counter solves for text, and we broke down how that one works here: every platform has its own limits, and getting them right shouldn't require memorizing a spec sheet. The Social Media Image Resizer does the same job for your visuals.
What the Social Media Image Resizer actually does
The tool runs entirely in your browser. You upload one image, choose which platform sizes you want, and it renders each one instantly on a canvas, ready to download as a PNG. Nothing gets sent to a server, so it's fast and your original never leaves your device.
Here's what's built in:
- Presets for every major platform. Instagram (square, portrait, story), TikTok video, X posts and headers, Facebook posts and covers, YouTube thumbnails and channel art, LinkedIn posts and banners, Pinterest pins, and a universal profile-picture size. The dimensions are the current recommended upload sizes, so you're not guessing.
- Two ways to fit. "Cover" crops your image to fill the frame edge to edge, which is what you want most of the time. "Contain" fits the whole image inside the frame and pads the empty space with a background color you choose, so nothing gets cut off.
- A background color picker for when you use contain mode, so the padding matches your brand instead of defaulting to plain white.
- Individual or batch download. Grab one size, or select a handful and download them all at once with a single click.
That's the whole tool. It does one job and does it without asking you to sign up, sit through an upsell, or accept a watermark stamped across the corner.
How to resize an image, step by step
The whole flow takes about a minute. Here's the exact path.
1. Upload your image
Open the Social Media Image Resizer and drop in your photo, or click to browse for it. Use the highest-resolution version you have. The tool scales down cleanly, but it can't invent detail that isn't there, so starting large keeps every size looking crisp.
2. Pick your platforms
You'll see the size presets grouped by platform. A few common ones are selected by default, but you can toggle any of them on or off, or select the entire set if you're publishing everywhere. Only choose the sizes you actually need. There's no reason to download a Facebook cover if you're not posting to Facebook.
3. Choose how it fits
Decide between cover and contain. For most photos, cover is the right call: it fills the frame completely and keeps the composition tight. Switch to contain when you can't afford to lose any part of the image, like a graphic with text near the edges or a product shot where the whole thing needs to be visible. In contain mode, set a background color that fits your look.
4. Check the previews
Each selected size renders live so you can see exactly how the crop lands before you commit. If a cover crop cuts off something important, switch that image to contain, or start from a version of the photo with a bit more breathing room around the subject.
5. Download
Download images one at a time, or select several and grab them all together. Each file comes out as a clean PNG named with its dimensions, so you know at a glance which one goes where. Then upload them straight to each platform, no extra editing required.
Where a resizer fits into a real posting workflow
The resizer earns its keep the moment you're publishing the same thing in more than one place, which for most creators and small businesses is all the time.
Say you're launching something: a new product, an episode, a sale. You want a feed post, a story, a pin, and a thumbnail, all pulling from the same hero image so the campaign feels consistent. Instead of re-cropping the photo four times and guessing at each size, you resize once and download the full set. The visual identity stays tight across channels, which is exactly the kind of consistency that makes a small brand look bigger than it is. It's the same instinct behind making a branded QR code that actually looks like you: the details people barely notice are the ones doing the work.
It also pairs naturally with the rest of your Liinks setup. Once your images are sized right, they slot cleanly into a Liinks page, where your best content, links, and calls to action live in one place. A crisp thumbnail on a featured link or an embedded post looks intentional, and on a link-in-bio page where every element is competing for a tap, looking intentional is the difference between a click and a scroll.
If you're already thinking about how your visuals show up when links get shared, the free Liinks Open Graph Image Generator is the companion piece: it designs the preview card that appears whenever someone drops your link into a post, and we walk through it here. Between the two, you've got both the images you post and the images the internet generates about you covered.
A few tips to get sharper results
- Start with the largest source you have. A 3000px original resized down looks better everywhere than a 600px original stretched up.
- Reach for contain when text or logos live near the edges. Cover crops from the edges in, which is where important details tend to get sacrificed.
- Match your padding to your brand. If you use contain mode, set the background color to something on-brand instead of leaving it white. Small detail, noticeably more polished.
- Batch the whole campaign at once. If a photo is going to five places, select all five sizes and download the set in one pass so nothing gets forgotten later.
- Keep the sized versions. Save the exports you use often. Next time you need that hero image in a story size, it's already done.
TL;DR
- Every platform wants a different image size, and the wrong dimensions get your photo cropped, padded, or blurred, which quietly makes good work look sloppy.
- The free Liinks Social Media Image Resizer lets you upload one image and download perfectly sized PNGs for Instagram, TikTok, X, YouTube, Facebook, LinkedIn, and Pinterest.
- Choose cover to crop and fill, or contain to fit the whole image with a background color of your choice. Download sizes one at a time or all at once.
- It runs in your browser, needs no sign-up, and adds no watermark. The whole flow takes about a minute.
- It pairs cleanly with the rest of your Liinks toolkit, so your visuals stay consistent from your feed to your link-in-bio page.
Try it on your next post
The next time you're about to publish across more than one platform, skip the re-cropping. Upload your image to the Liinks Social Media Image Resizer, grab every size you need, and post with the confidence that nothing's getting cut off at the chin.
And when your images are ready, give them a home. Create your free Liinks page and put your best links, content, and calls to action in one clean, on-brand spot that looks as sharp as the photos you just resized.